When making contact measurements for QC, the quality of your data depends on following good metrology practices. This is true whether you use manual calipers, a CMM, a robotic Q-Span System, or any other metrology tool.
In our work with quality teams around the country, we’re finding that the path to automation is fast and smooth for teams that have a solid grasp of metrology best practices. These include:
- Regular re-certification of metrology tools including robotic gripper/calipers
- Periodic training and retraining of QC staff
- Understanding geometric dimensioning and tolerancing (GD&T) and the intrinsic variations of the parts to be measured
- Choosing the right metrology fingertip shapes for the part
- Cleanliness of parts and fingertips
- Eliminating external forces on the part during measurement
- Applying the correct force during measurement
- Making multiple measurements and using the averages
- Regularly checking the zero reference of the calipers
- Automatically logging measurement data to avoid data entry errors and comply with Part 11 data integrity requirements
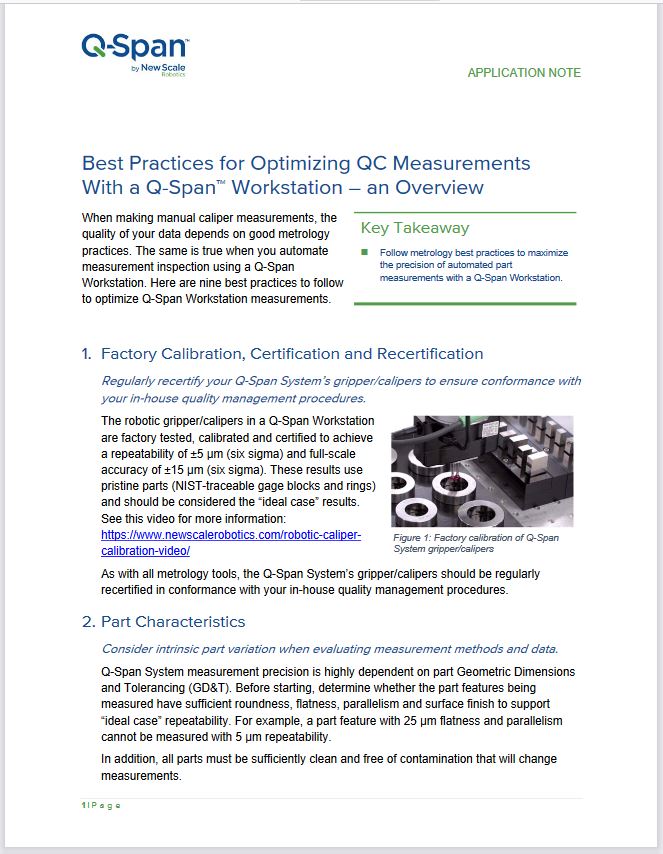
We recently published an application note summarizing these best practices. We also explain how a Q-Span Workstation makes it easy to follow these practices and achieve repeatable, reproducible results.

