In a recent NTMA survey, of those responding 65% said they had not purchased any automation equipment in the first six months of this year and 58% say they do not plan to purchase any over the next six months. While those numbers surprise me somewhat, they could mean that many had already bought and implemented automation and robotics before this year. I do know that to be true for many shops. But, if this is not true for you, I would highly encourage you to start or progress in your journey. – Roger Atkins, President, NTMA
This article appeared in the October 2022 issue of NTMA’s The Record.
Many manufacturers have started their automation journey by using collaborative robots to automate simple production tasks, such as machine tending for CNC mills, lathes, plasma cutters, EDM machines, multi-spindle screw machines, press brakes, punch presses and other equipment. With this first step, they may be closer than they realize to achieving “lights-out” operation on a particular machine.
Why collaborative robots?
Collaborative robots (cobots) are ideal for high-mix production environments. Manufacturing teams can deploy cobots without the help of a systems integrator. They can configure, purchase and teach cobots to perform production processes in less than three months, for budgets in the $100K range. They can easily teach cobots to perform additional different tasks, depending on production needs.
Automated machine tending – a natural first step
Machine tending is a natural first step for automation with cobots. Loading and unloading CNC mills, lathes, mills, press brakes and other machines is one of production’s biggest time sinks. But if you still need a QC inspector to walk over and check the parts that come off the machine, the benefits of automated machine tending are limited.
For example, a CNC mill or lathe running a cycle time of one minute per part produces 60 parts in one hour of unattended, “lights-out” machine time, with almost no labor overhead.
QC and automated machine tending
Now suppose the outer diameter goes out of spec 30 parts into the run. The CNC mill or lathe will carry on for the rest of the hour, producing 30 more parts that will have to be scrapped or reworked.
Even if the process calls for QC to measure an AQL sample of one in every ten parts, realistically, manufacturing and QC are rarely going to be able to efficiently coordinate a QC person to walk over to the CNC several times during the one-hour “lights-out” run.
Production teams are short-handed and have all they can do to manage new machine setups, plan new jobs, train new people, and keep product moving on the floor.
QC teams are short-handed, too; they will measure one in ten as required, but probably only at the end of the run. And production often does not have the time to wait for the QC check before starting the next run.

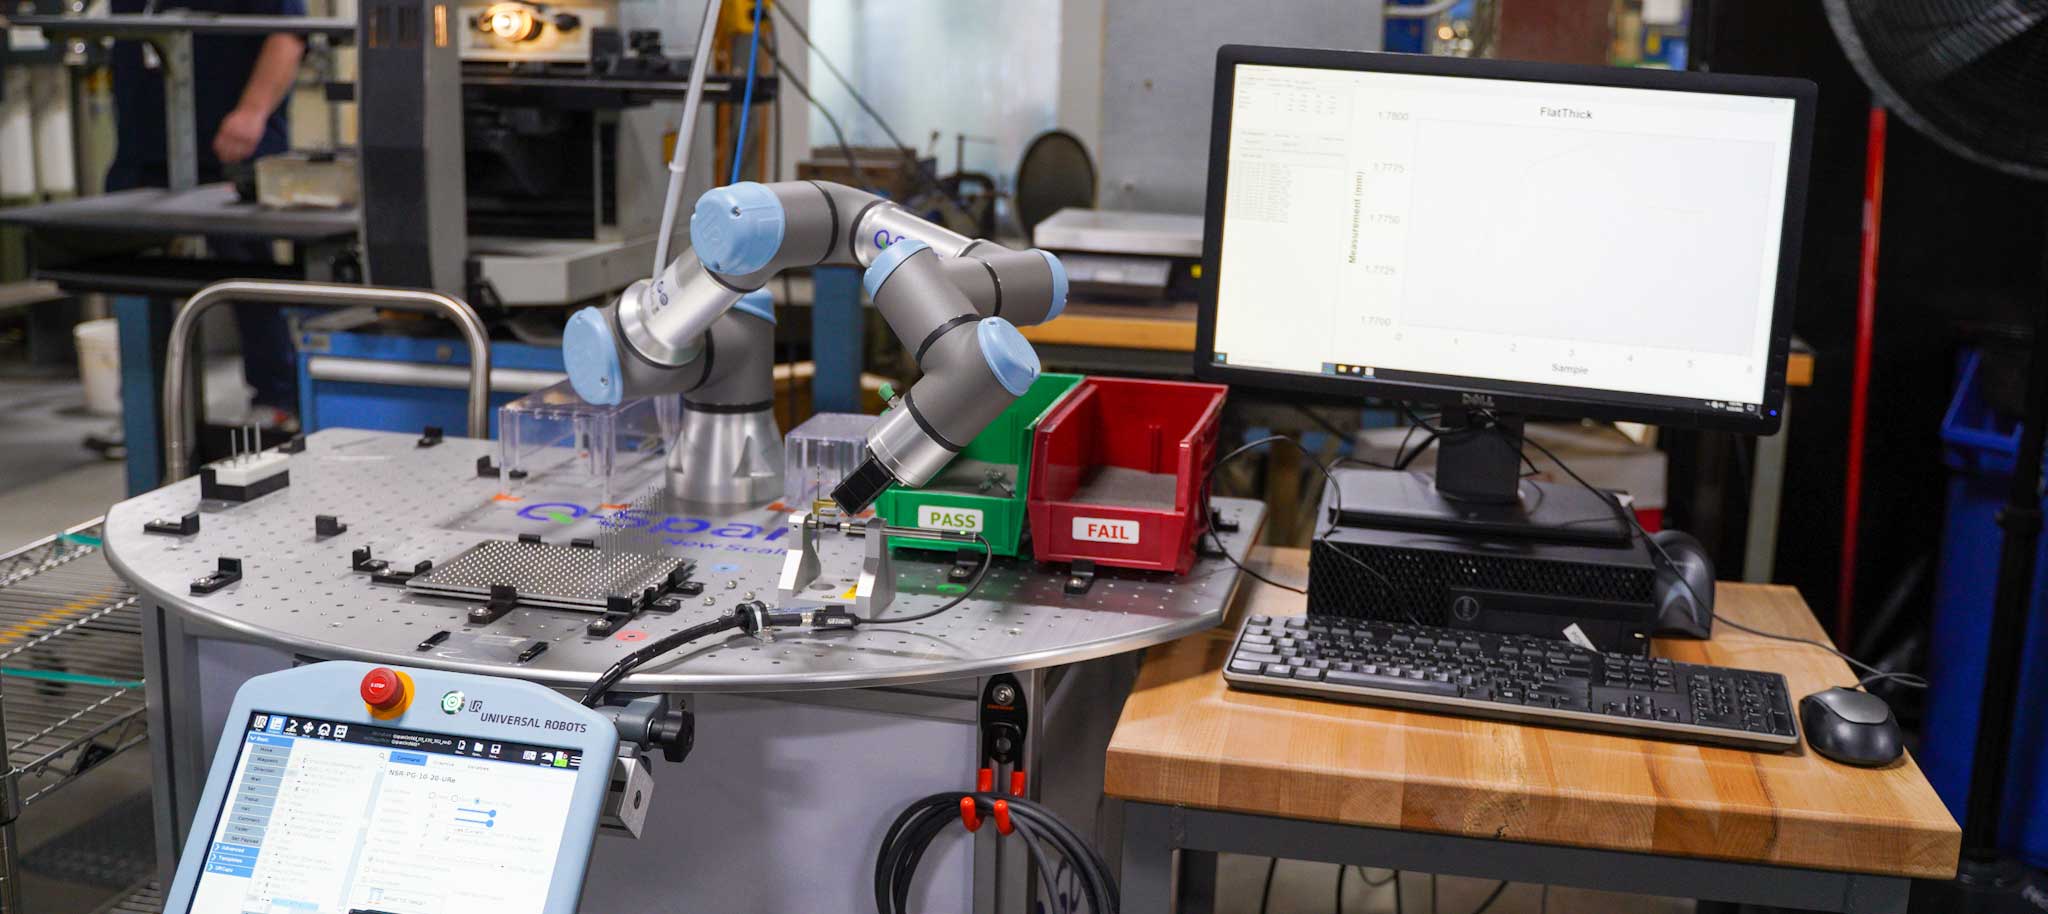
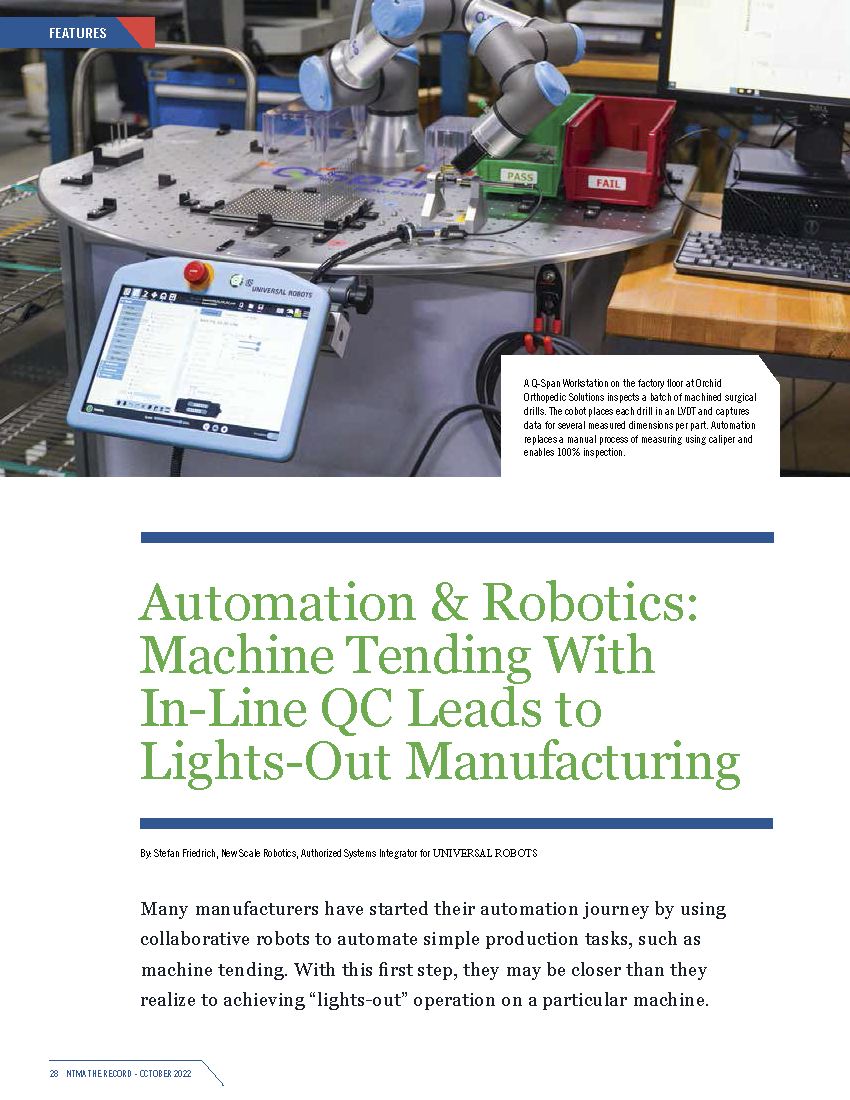
A Q-Span Workstation on the factory floor at Orchid Orthopedic Solutions inspects a batch of machined surgical drills. The cobot places each drill in an LVDT and captures data for several measured dimensions per part. Automation replaces a manual process of measuring using calipers, and enables 100% inspection.
Machine tending with in-line QC checks – a necessary second step
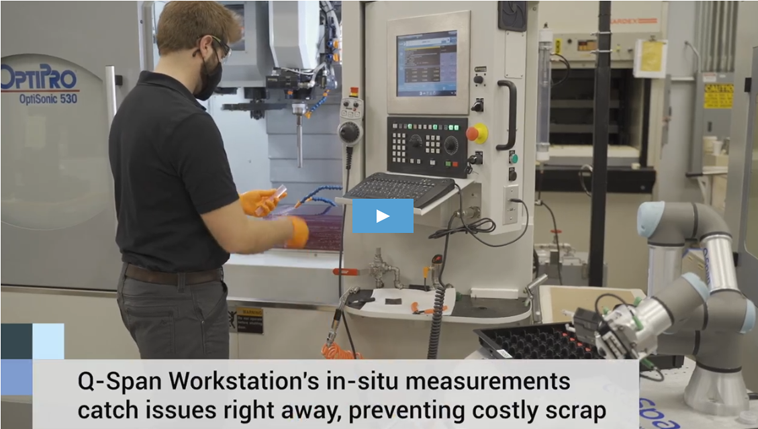
Machine shops are resolving this problem by using cobots to do QC measurement checks on every part, after it is unloaded from the machine.
A cobot system designed for this purpose is the Q-Span Workstation from New Scale Robotics. Each workstation comprises a collaborative robot from Universal Robots mounted on a sturdy mobile workstation table, along with teachable software for handling parts, making measurements, and collecting data.
As it unloads a machine, the Q-Span System measures each part – either by using its robotic caliper, or by placing the part into a standard gauge such as an LDVT or bore gauge. Any dimension out of tolerance can be used to trigger an alert and stop the run.
A machinist can respond by changing the machine tool, adjusting an offset, fixing any other issues, and restarting the program. Scrap is limited to one bad part, and labor is still kept to a minimum.
Automated tool wear compensation – the final step
While measuring every part as it comes off the CNC machine, the Q-Span Systems can feed measurement data into automated tool wear compensation software and then to the CNC control.
Rather than throwing alerts when the workpieces hit an upper or lower tolerance limit, the CNC mill, lathe or other machine can automatically adjust offsets and compensate for tool wear and drift based on real time data, keeping all dimensions closer to nominal. You can achieve full lights-out machining for that machine, without waste and scrap.
A Q-Span Workstation measures parts as they come off the OptiPro Systems OptiSonic 530 CNC Ultrsonic Machining Center. This in-line measurement can catch issues right away, preventing costly scrap. Watch the full case study video at Universal-Robotics.com.


