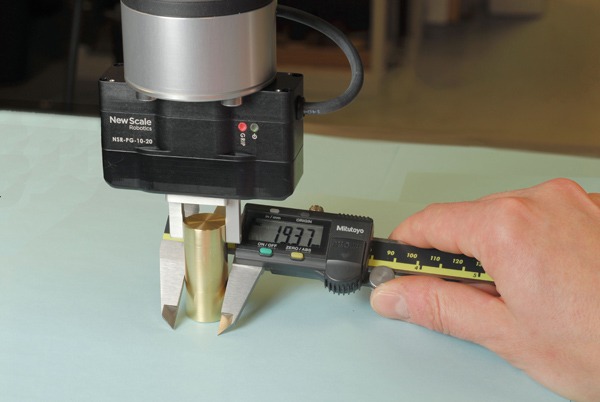
Different instruments (and different operators) are prone to different errors. Automation eliminates many of these errors.
In a Modern Machine Shop article, “Understanding Errors in Hand-Held Measuring Instruments,” Metrologist Richard Clark presents some of the common errors in hand-held measuring instruments and explains:
“Measuring instruments have certain common errors built right into them… Recognizing these errors is a basic requirement for proper inspection. It’s not necessary to comprehend the precise physics or geometry underlying the error, but it is important to understand the nature of the error and the extent to which it might affect or limit the instrument’s precision.”
Automated vs. manual measuring instruments
Automated measuring systems like the Q-Span Workstation overcome some of these errors better than humans can. For example:
- A robotic micrometer will consistently apply an exact force, eliminating errors from over-tightening.
- Using a robotic caliper and placing parts in a measurement fixture ensures that every part is gripped the same way, every time. There is no need to train operators to measure as close to the rail as possible to counteract “Abbé’s principle.”
Perhaps most significantly, a robotic workstation eliminates operator variation described in the article. It has high repeatability and reproducibility.

Automation tools like this robotic calipers (top) can eliminate the operator variation inherent in using manual gauging tools like digital calipers (bottom).
